Make it cost shoot 11: Rocky Harbour by Andrew Dacey

After I got back from New York the 2nd time I fell back into the same pattern of not shooting much around town. Fortunately, I was well ahead of schedule on my goal, but it was still disappointing that I couldn't seem to fit photography into my day to day life. 

It was another trip, this time to Newfoundland, that provided the next group of shots. This first one was taken in Rocky Harbour, one of the small towns in Gros Morne National Park. My girlfriend grew up in the area and this is always a special place for her. 

This shot is a mild HDR shot, I've tried to keep it fairly realistic but have just pulled a bit of detail out of the hills and the docks so those aren't purely black. I think it works for this shot, it just brings in a little more detail but the clouds and the shadows still look pretty natural.  I liked this shot enough to add it to my rural portfolio

Make it cost shoot 10: The costume shop by Andrew Dacey

A little late with the post today but I'm really trying to stick to a Monday, Wednesday, Friday schedule so I was determined to post something. 

This was definitely one of the shoots I was determined to do while I was in New York. My cousin works at a costume shop that makes hats for several of the stage productions. I had a chance to visit the shot and forgot to bring my camera but after I saw the place I knew I had to come back, and fortunately my cousin was gracious enough to let me come back and take pictures of the place. 

Honestly, to do this place justice I really need to edit through the entire collection and come up with a photo essay. Every square inch of their workspace was covered in interesting details and it was packed to the rafters with stuff. I'm still trying to sort out what the best way is to tell the story of the place. 

This shot is just 1 small detail shot that I liked. It's actually 3 images focus-stacked, a technique I've not tried out before, but I was quite pleased with how well it worked here as there wasn't much light so I had to shoot wide open. 

Make it cost shoot 9: Flat-iron District by Andrew Dacey

This was another case of wanting to visit a particular area in New York and struggling with how to do something new with such an iconic piece of architecture. I shot some more stuff in the area but came back to this shot as my favourite.

The colour in this image wasn't that interesting but I found that with a very harsh black and white treatment it really pulls out the detail in the building and works with the graphic nature of this shot. 

One point on the border. Normally I'm not much of a fan of the fake film borders on digital images but in this case since I was blowing out the sky almost completely I felt that I needed something on the edges of the image in order to "ground" the shot. Otherwise the sky just sort of bleeds off into nothing and there's no boundary for the edge of the picture. It's a rare case where I felt the border was necessary. 

Make it cost shoot 8: Urban details by Andrew Dacey

The trip to New York for work ended up getting me off to a great start with my make it cost project. Before then I hadn't shot anything and after I got back I'd completed 7 of the shoots toward my 15 shoot goal. Unfortunately, when I got back to Halifax the responsibilities of home ownership, combined with being 6 weeks behind on things meant that shooting went back on the back burner. Fortunately, I was at least a little ahead of schedule at this point.

Then work ended up asking if they could send me back to New York for another 3 weeks. I'd barely been back home and I was being sent back. On the one hand I was glad to be going back to New York and to get more shooting in. On the other hand though I was starting to get a little worried that my project was going to just turn into a New York project. Nothing wrong with that, but the point was to making shooting a bigger part of my life and completing the challenge only through travel wasn't what I'd intended. 

In order to push myself more I tried to look for some more unusual subjects on this trip. One mini-project I tried was to find unusual urban details and really focus in on them. This was on the sidewalk nearby where I was staying in the financial district. I really like the strong colour and texture in this shot, but overall it's one of the few successful shots from this shoot. 

Make it cost shoot 7: New York Botanical Gardens by Andrew Dacey

This was the shoot that I'd originally bought the Lensbaby soft-focus optic for that I used during my Times Square shoot. I found out that the New York Botanical Gardens was doing their orchid show while I was in town and I wanted to try out some soft-focus shots of the flowers.

I spent some time walking through the enormous greenhouse shooting the orchids before I wandered the grounds. It was still early April when I took these shots so a lot of stuff wasn't really out in bloom yet but some areas were quite nice, like the cherry blossoms. 

Originally, I wasn't very happy with the shots of the orchid and I was much happier with some of the shots from the grounds, such as the image from above, which I've even used in my rural portfolio. However, since then I've revisited some of the images with some new post-processing techniques to better match my original vision and I came up with the below 4 shots. Overall I think they help accentuate the dreamy quality I was going for in my original vision.

Make it cost shoot 6: The Brooklyn Bridge by Andrew Dacey

Something else that was high on my to-do list while in New York was to walk across the Brooklyn Bridge. I ended up doing it on the same day as my financial district shoot. The weather was pretty good and the walk was great.

It's hard to get something new with such an iconic landmark like the Brooklyn Bridge. I do absolutely love working with intersecting lines and the all of the details in bridges so it was hard for me to resist taking this shot. I definitely think it works better as a black and white to just highlight the graphic elements of the bridge. 

Make it cost shoot 5: Financial District by Andrew Dacey

As I mentioned before, I was in New York for work, and that work was deep in the financial district. I didn't really spend that much time exploring it but I did want to take the time to shoot down there instead of just focusing on midtown Manhattan. 

I ended up taking this shot of the cranes working on the Freedom Tower on my work and I really like the graphic elements of the partially constructed tower with the 2 cranes in the foreground. 

Make it cost shoot 4: Lensbaby at Times Square by Andrew Dacey

Lensbaby at Times Square

While I was in New York I made the pilgrimage to B&H Photo. The first time I went it was pretty overwhelming because of the sheer size and the number of people, plus I really didn't have anything in particular in mind to check out.

Later on, I made another trip when I had some things in mind to purchase. One of the things I really wanted to try was a Lensbaby. I'd been really interested with the soft-focus optic and I had something in mind for a shoot for my project that I thought would work really well for it. I picked it up as well as a couple of other useful toys, like a Wacom tablet, which I'm still not using nearly as much as I should but am really enjoying when I do. 

Rockefeller Center plus Lensbaby

When I read through the soft-focus optic's instructions I noticed it said that it didn't work well in high contrast situations. I'd been doing a lot of night shooting in New York so I of course promptly ignored this advice and took it out on the streets of midtown Manhattan at night. What I got from that shoot were some really wild results where every light source revealed the aperture pattern used in the optic in a very strange and distorted way. Sometimes it worked, sometimes it didn't. 

Armed with this strange effect I instantly thought this could really shine at Times Square and I planned to head out to put it to use there. Ultimately though, I didn't get much during that shoot that I was all that happy with. The above image is the best of the bunch from Times Square but I'm still not thrilled with it. 

Lensbaby on Lexington

But, I did keep shooting with the Lensbaby on the rest of the way back to my apartment and I definitely got some better results near the Rockefeller Centre and on Lexington Ave.  It's definitely a stylized look but it can be a little fun and it's definitely not your typical night shoot.

Make it cost shoot 3: Staten Island ferry by Andrew Dacey

While I was in New York I really wanted to get some shots of lower Manhattan from across the water. The Staten Island ferry proved to be a great vantage point, especially just after sunset. I timed my trips so that on the way across the sun was setting and on the way back it had set.

Unfortunately, it ended up being horribly windy on the trip, especially on the way back and it was very difficult to get a steady shot. This is one is my favorite from the trip but I would have liked to have gotten some more keepers. 

Make it cost project shoot 2: St. Patrick's Day Parade by Andrew Dacey

As mentioned for shoot 1, work sent me to New York for 6 weeks in 2012. I happened to be there for St. Patrick's Day so I was excited to try to check out the parade as one of my shoots for my challenge.

In the end, I has missed a lot of the beginning of the parade but I ended up catching the later parts from alongside Central Park. I wasn't really happy with any of the shots of the parade that I took but I did really like this candid shot I got of one of the police officers at the parade. All of them were very friendly with me and were very courteous and even made sure that other people didn't block my shots! 

Not my best work but the point of the challenge was to get me shooting more regularly and this was something I really wanted to cover while I was in New York. This became a bit of a recurring them during my challenge that some of the shoots that I had envisioned ahead of time ended up being nothing like what I thought they might be. 

Make it cost project shoot 1: Manhattan at Night by Andrew Dacey

Manhattan flower shop

These updates are a long time coming. I'd really wanted to get on top of these earlier but, better late than never. 

I ended up being very late on getting started on my Make it Cost project last year. I finally got started when my work sent me down to New York City for 6 weeks. That really reinvigorated my creative energy and I got into taking a lot of street shots at night, since I was working during the day. I stayed in an apartment in midtown Manhattan and even just walking within a few blocks I could find so many interesting subjects. 

I saw this man looking at the flower shop and I framed it up and just waited for him to move in to look closer. Finally when he leaned forward I knew I had the shot I was looking for. I felt the colours of the flowers were distracting and that it worked far better as the black and white here. I liked it so much that it also made it into my Urban portfolio. 

Relaunched site by Andrew Dacey

This has been a bit of a crazy year for me in general, for some reasons I'll be sharing in the near future. Because of that I've been quite remiss in updating the site. But, during that time I had been investigating moving to  SquareSpace for my hosting. I'd heard a lot of good things about them and while I liked using Wordpress, I didn't like having to manage everything myself. The big killer feature for me though was the responsive design aspect and that it will handle mobile devices out of the box. That was a big area I wanted to address with my old design and had just never gotten around to it.

So, over the last month or so I began a complete overhaul of my website and I've finally gotten it to the point where I'm ready to push it out with the new design. The domain name transfer has been processed so hopefully by the time this posts it will hit the new site, if not it should be within a day at the most.

I've completely redone my galleries, the old links should still work but I'm not publicizing them anymore. I've cut things down to 2 main portfolios "urban" and "rural". The urban one is a little bigger for now as I've done far more of that type of work but I'm hoping the rural will grow as well. Ideally, I'd like to keep these portfolios as living documents of my best work and I'd like to limit them to no more than 20 images at their peak. 

I'd like to promise more frequent updates in the future but I've made that promise in the past and it's fallen through. I'm still struggling with getting a good update schedule in place and at this point I think it's better to just prove things with actions rather than promises up front. Once I've hit on a good schedule and stuck to it for awhile I can start making more promises about keeping it up. 

Feel free to let me know what you think about the new design.


Site problems by Andrew Dacey

Noticed today that I was getting some odd errors from SmugMug today so I've had to temporarily disable the SmugMug plugin. That's broken the images on 1 post but has fixed the rest of the issues. Apologies for any inconvenience, I hope to have this fixed up more permanently in the near future.

Are you a maximizer when it comes to photography? by Andrew Dacey

I've been reading The Happiness Project by Gretchen Rubin and last night I finished off the July chapter which focused on money. In that chapter there was a section which talked about 2 different styles of decision-making processes for buying; what Gretchen refers to as a "satisficer" as opposed to a "maximizer":

Satisficers (yes, satisficers) are those who make a decision or take action once their criteria are met. That doesn't mean they'll settle for mediocrity; their criteria can be very high, but as soon as they find the hotel, the pasta sauce, or the business card that has the qualities they want, they're satisfied. Maximizers want to make the optimal decision. Even if they see a bicycle or a backpack that meets their requirements, they can't make a decision until after they've examined every option, so they can make the best possible choice.

In reading the description of the maximizer I burst out laughing because it described me to a tee. My girlfriend had read the book before me and I asked her if she thought the same thing and she nodded vigorously as I read aloud that description. I like to make informed decisions, I like to know about the things I'm going to purchase before I purchase them. Now just said like that it doesn't sound too unreasonable, but I tend to take it to extremes. I'll spend months doing research deliberating over the pros and cons of different choices, I'll do extensive online searches for information, I'll pour over reviews, I'll try to check out each option in person (sometimes more than once). How bad can it get? A few years ago when I was thinking about buying a barbecue I got to the point where I was reading through reviews on a charcoal review site.

After I put down the book for the night I started thinking that maybe I'm a maximizer in other parts of my life too. I've been spending a lot of time trying to figure out what's been holding me back in pursuing my photography more seriously and I think this is a big part of it. I'm a geek by nature anyway so it's not too surprising that I lust over all sorts of expensive photo gear and it's really easy to say to myself that I need "the best" gear. I also spend an tremendous amount of time reading photo books, watching online training videos and listening to photography podcasts all in order to learn more about photography. While the learning is great and I've certainly expanded my knowledge I'm not applying it, am I waiting for some magic point where I "know it all"?

Taking it further, I struggle a lot with expressing what my vision is and finding my voice, both photographically and even with this site. I don't post as often on the blog because I haven't figured out what I should be talking about. I don't shoot as often as I should because I haven't figured out what I should be shooting. I don't pursue paid photography work because I don't know what paid work I should be pursuing. As a "maximizer" this becomes paralysing because I'm used to not making a decision before I've weighed all the options. What I need to do is remind myself that none of these things have to be permanent decisions and that I may just have to be willing to try something and then change directions if that doesn't work because waiting until I figure it all out may mean that I never figure it all out.

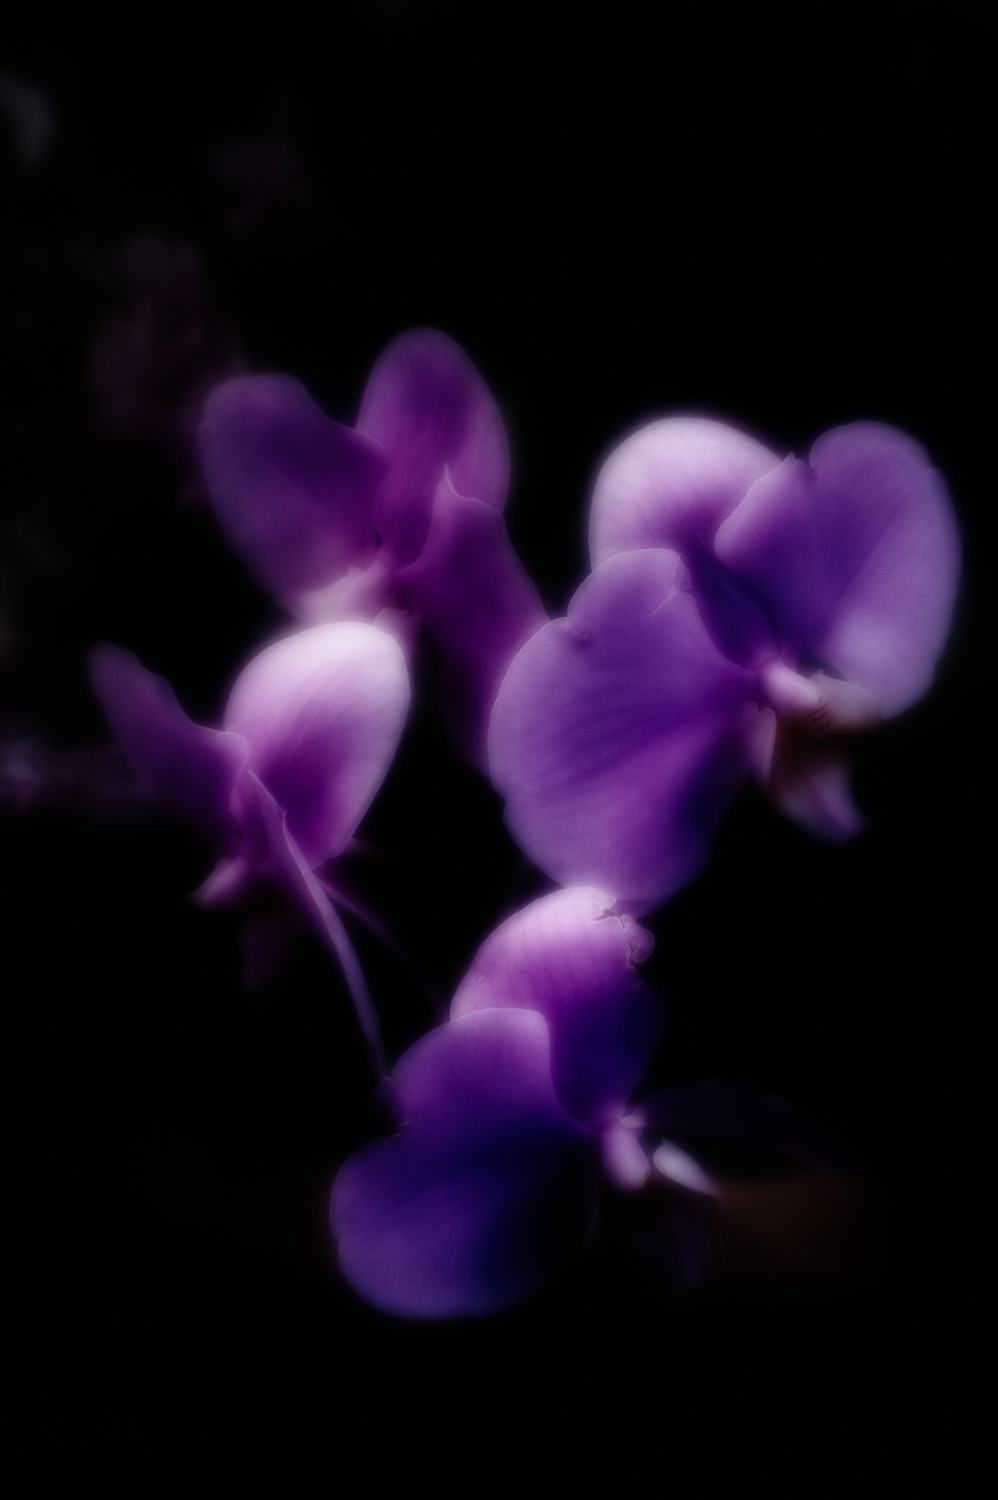
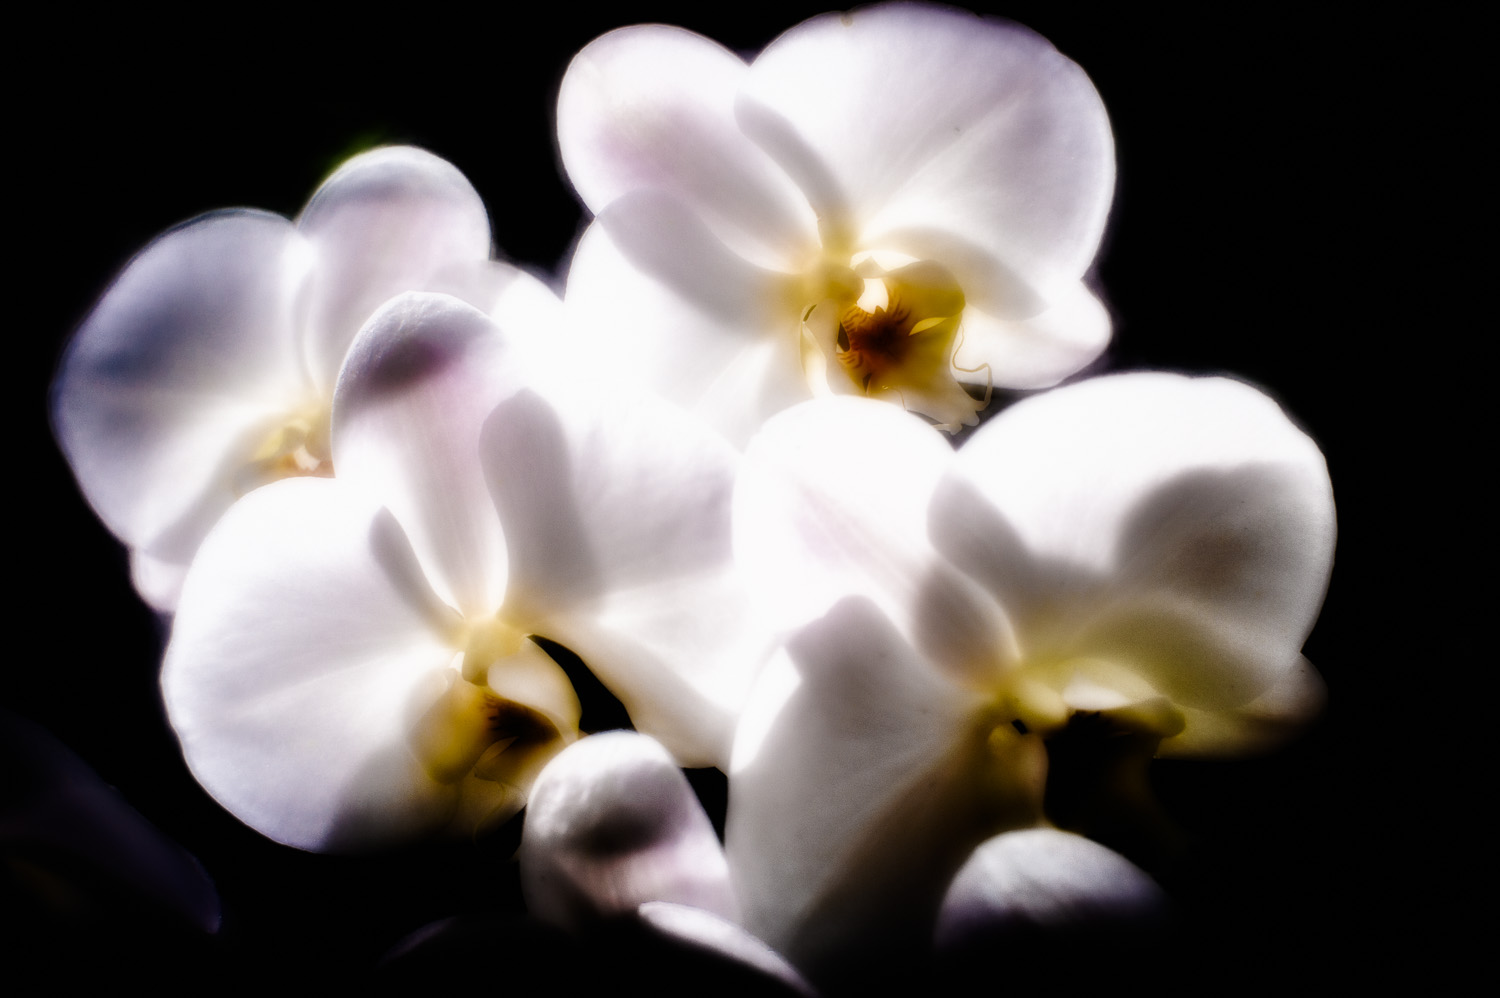
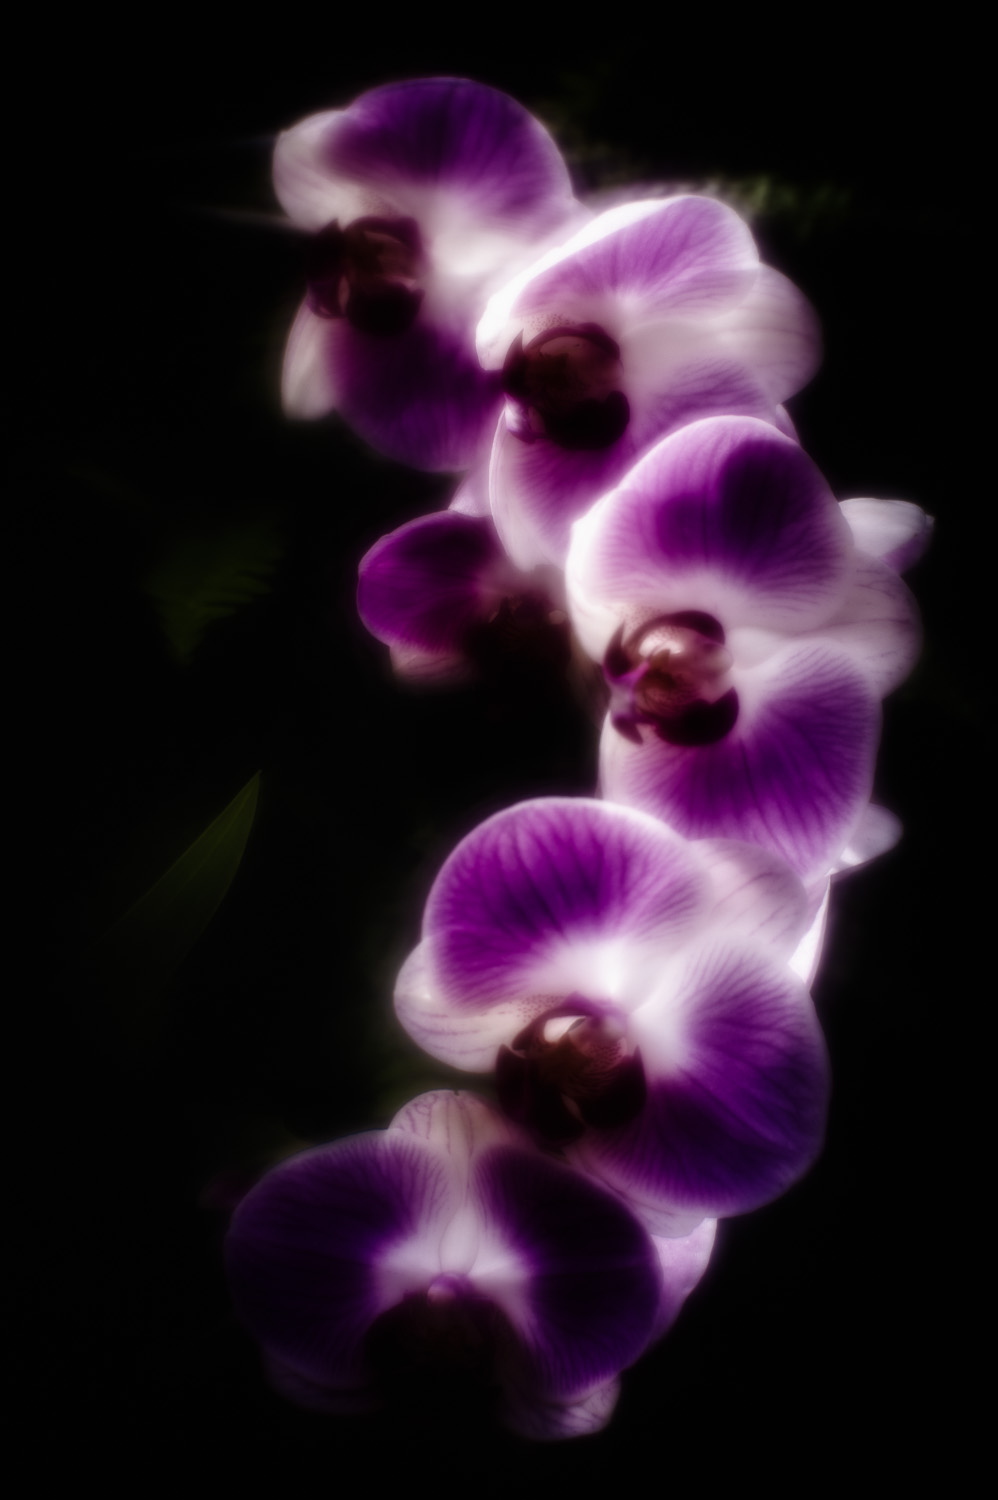
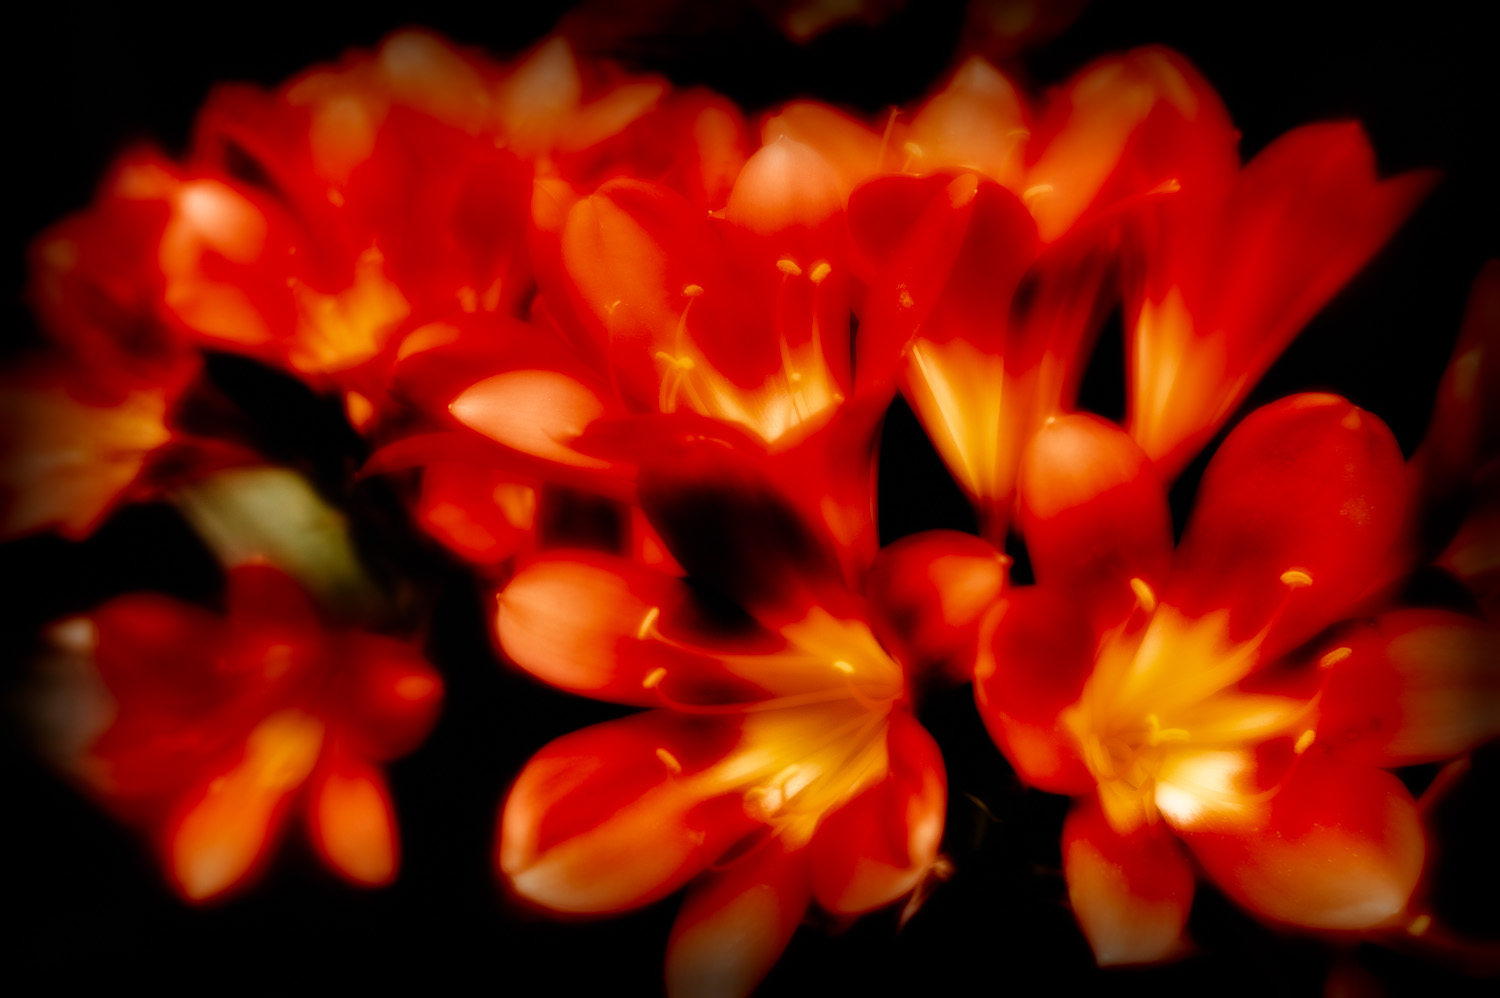
Looking online I'd say there's a lot more people like me out there. Browse any photo site or forum and you'll find tons of people spending hours upon hours of time debating every technical aspect, which camera is "better", what's the "best" lens, which camera has the lowest noise at high ISOs, etc, etc, etc. Instead of going out there and shooting with the equipment we do have we chose to sit in front of our computers in the never-ending search for that best possible choice instead of being satisfied with what we have, which more than likely meats all of our criteria.

2012 Challenge - Make it cost by Andrew Dacey

Okay, I'm a little late on posting this. I had the idea just before New Years but then I let other things keep me from posting this a little earlier. I started even second-guessing myself about posting it at this point but the entire goal of this post is to challenge myself for the upcoming year and to hopefully inspire others to do the same. The other important piece of this is that this is about setting goals and challenging yourself and while New Year's is a typical time for doing this there's absolutely no reason why you can't start at any time in the year with any time frame that works for you. I've been thinking a lot about what I want to achieve photographically in 2012 and really it all kept coming back to the idea that I want to shoot more often. The other piece of this was I wanted to make sure to give myself a strong incentive to follow through with this goal. Last year while attending Dane Sander's Fasttrack Photographer workshop Dane talked about when change happens and what it takes for it to happen. One of the pieces for making change happen that he talked about is what is it going to cost you. If the status quo isn't costing you anything then you're not going to change. This is often where New Year's resolutions fall apart, how often do you make a resolution and even while making it know that you're not going to keep it?

I knew that I wanted to shoot more but I needed to come up with something more specific that I could measure. In the end I decided to settle on the number of shoots that I'd do in 2012. I didn't shoot very often in 2011 so this is a good measure for me. I've decided to aim for 15 shoots in 2012. Now to clarify, what I mean by a "shoot" is not simply going out for an afternoon shooting but I mean something where I've come up with a specific concept and then shot that concept. Alternatively, if someone is paying me to shoot something then that session will count as a "shoot". 15 may sound low to some people but by that criteria I only did 1 or 2 shoots all of last year so this is a big increase. I also have a full-time day job so I'm most likely going to be limited to evenings and weekends for this unless I take time off.

So with my goal covered the next thing was to come up with a cost for this, what was failing going to cost me? I decided to go for the "all or nothing" approach. If I fail in this goal this year I will be giving away all of my camera gear. Should I fail I will setup some type of contest for determining who will receive my Nikon D700, 24-70 f/2.8, 50mm f/1.4 and any other equipment I currently have or may acquire this year. Basically I'm saying that if I can't make shooting a priority in my life then shooting won't be in my life.

Now obviously this is a contest which I have no intention in having to follow through with but the point is this is creating a motivation for me to get out there and shoot more often. To get 15 shoots done this year I'm going to have to average at least 1 a month and then manage to swing 2 shoots a month at least 3 times to make up the goal. I hope to post status updates throughout the year to keep you all apprised on how things are going and what challenges I'm facing.

Now for the inspiration part, I'd really like to put this challenge out to you as well. Are you willing to set some goals and make failing cost for you? What goals do you have, what will you make it cost? If you're willing to take up my challenge (and it doesn't even have to be photo-related) then I encourage you to share your goals publicly as well as what you'll do if you fail. To help track this I'm going to encourage people to share their stories on Twitter and Google+ using the hashtag #Makeitcost. I'm really hoping that I can inspire others to challenge themselves to do more great things and to stick to it. It doesn't matter what the goal is or what the cost is, but make it something that will challenge yourself and that costs enough that you won't want to fail.

Incidentally, you can follow me on Twitter at @AndrewDacey and on Google+as Andrew Dacey.

Shooting through a problem by Andrew Dacey

Back in October I flew down to Florida to attend the Vanelli and Friends Bahamas cruise photography workshop. I hope to have some more details about the workshop up soon but I wanted to share one of the images from the shoot as I'm really happy with the shot. However, I think it also helps illustrate some of my personal approach to dealing with problems you encounter while you're shooting. I've shot plenty of times in colder weather so I'm aware of the concerns about condensation when coming in from the cold. As many people can tell you, this also works in the other direction in hot and humid climates when going outside from an air conditioned space. I've shot in SE Asia before but when I was there I wasn't staying in heavily air conditioned rooms and it was also toward the end of the dry season so condensation wasn't much of a concern. Nassau, however, was a completely different matter and when I pulled my camera out of my bag it fogged up badly. When I put the camera up to my eye all I got was a huge amount of blur. As I mentioned, I'm more used to shooting in cold weather so I'm used to having my viewfinder fog up when I'm outside. I'll admit that at the time I mistakenly thought that it was just my viewfinder and LCD that were fogged up, it just didn't occur to me that the front element of my lens was fogged as well. Perhaps because of this, I simply didn't let it get me down and when I saw shots I took them, I just kept shooting through the problem. Because of this determination to just keep shooting in spite of being barely able to see what I was framing I took this shot.

As you can see, things are pretty fogged up (and this was after my lens had started to clear up). But, I loved the look of these side streets and when I saw that man walking towards me I knew I had to grab a couple of frames.

Now I do really like the mood of the fog that's created in this shot but there's just so much detail lost. Thinking it might be worth salvaging though, I played with the sliders in Lightroom a bit but just wasn't very happy with it. On a lark, I decided to see if it might work as a black and white so I swung over to Photoshop to use Nik Software's Silver Efex Pro. Playing with some of the presets, I found that they did pull out a lot more detail in the shot but I wasn't happy with losing all of the nice colour. I quickly realized though that this would be a perfect application for the technique I'd described in my Making Montreal posts. The fact that Vanelli had recently talked about using that technique as well may have played into it being in my mind. I found a preset that I liked and blended it using the luminosity blending mode and I was amazed with what I ended up with. I went back in and further tweaked things like brightening up the man's face a bit and playing with the structure sliders. I liked the look but found that I'd lost a bit of the glow to the highlights so I went into Color Efex and applied the glamor glow filter to bring but some of that look to the highlights. On the advice of Vanelli, I burned down the edges a bit and also corrected the slight tilt to the image. This is the final result:

What was most impressive about this was that I got to about 90% of the look in this image in probably less than 5 minutes of work thanks to Silver Efex Pro. By applying it as a smart filter I kept things in a non-destructive space and that allowed me to go back in to tweak things based on the feedback I got, and even allowed me to fix the rotation in camera raw. I think this shot really shows the power of the workflow I described in my Montreal posts. But more importantly, I think it also shows how important it is to not give up when you're faced with a problem but instead to work through the problem and just keep shooting. I could have easily written off my camera as useless until the fog cleared and if I'd done that I would have missed this opportunity. Instead, I shot through the problem and I ended up with a great happy accident.

How do your filters keep you from getting the shot? by Andrew Dacey

This past weekend I participated in Scott Kelby's Worldwide Photo Walk. We had pouring rain predicted for the entire weekend so the walk leader had come up with a rain plan to shoot in a local museum, The Maritime Museum of the Atlantic. I hadn't visited that museum in years so it was fun to walk through and look at all the nautical displays. I had fun shooting some abstract shots of a light house lens and also working with some detail shots of the displays. I tend to enjoy shooting abstracts so this was a lot of fun for me. I even tried some handheld HDR shots as the lighting was a little challenging in some situations.

However, other people in the group found the location to be more challenging and this made me think about how our own filters can really limit ourselves from getting the shot. One example of this was that one of the participants commented that he was having a tough time because he was trying to stay at 800 ISO on his camera because the noise wasn't great above that. Now I can't comment on the noise performance for his particular camera (a Nikon D5000) but this really stuck with me. Yes, maybe the noise does get worse above 800 on his camera, however it might also open up possibilities in the difficult lighting. I can't say for certain if he did pass on shots because of this but I did catch myself thinking that way from time to time. I was also trying to stick to around 800 as my "base ISO" in the shooting conditions and I did catch myself thinking at times that my shutter speed was going to be too low to handhold the shot. However, what I tried to do was to catch myself whenever I thought that way and would adjust my ISO. In some parts of the museum I had to go as high as 3200 and arguably could have gone higher. Now I shoot with a Nikon D700 which has incredible high ISO performance but the point is that I decided that getting the shot was more important than the noise. Are the 3200 shots noisier than the 800 shots? Absolutely, but I actually have a shot. I could have easily dismissed the possibility because I'd have to increase my ISO above what I considered "acceptable".

Since the walk I've thought a little more about this and applied it more broadly. Settings are one thing, but what about subjects or entire locations? How easy is it to dismiss a scene as not having anything worth shooting? Once you've put that filter up how likely is it that you won't find anything worth shooting? Even something did present itself would you catch it or would your filter keep you from seeing it?

Don't get me wrong, sometimes that filter is based on experience and a serious evaluation of the scene (conscious or unconscious). However, sometimes that experience can be a double-edged sword. Sometimes we just need to silence that internal critic saying that the shot won't work and be open to the possibility that there is something there. Will it always work? No, but sometimes by opening yourself up to the possibilities presented by a scene you can end up surprising yourself. I know I'm going to try to be more aware of my own filters and giving myself permission to experiment, even if it does mean I fail miserably.

HDR mistake by Andrew Dacey

Okay, this one may be obvious to some, especially if you have more HDR experience. But, I figured I'd share it here figuring that if I've made this mistake then someone else is probably unaware of this too. So what was this mistake? It's pretty simple but if you're setting up your HDR shot using auto-bracketing then make sure to pay attention to what your Camera's meter is going to use for the base exposure. I was shooting in aperture priority mode and shooting into a light. Because of this my camera was tending to pick a very high shutter speed to start (exposing for the light). This was a great exposure as part of the bracket but should have been the highest shutter speed in the bracket, not the middle. Adding shutter speed above this wasn't bringing in any further detail. In some cases I even ran into multiple shots in the bracket being shot at 1/8000 since that's the maximum shutter speed on my D700. Obviously that defeats the purpose of the bracketing and this usually meant that I didn't have the slower shutter speeds I needed to bring in the shadow detail. What I should have done was picked a good middle exposure (either with exposure compensation or by switching into manual mode) and started my bracket there.

It happened to me so it could happen to you too, pay attention to your exposure!

Back in action by Andrew Dacey

Well the splint came off a few weeks ago and I think my recovery is doing quite well. My hand is still weak and stiff at times but overall I'm feeling pretty good and have been happy with my recovery. The one thing I am finding tough is getting back into the routine with some things after such a long break. Fortunately, I am building up a list of ideas I'd like to post on and I have some other new developments that I hope to share with my readers in the next few weeks.

More to come.